The most common low-ponytail mistakes you see everywhere: a Japanese video with nearly 2 million views shows you the perfect version step by step
If you miss these 3 details… your hairstyle will make you look older!

Every girl’s go-to hairstyle list probably includes ponytails and buns. They work from your school days through working life, and simply changing where you tie them or adding hair accessories can create completely different looks. For a casual, relaxed style, though, low buns and low ponytails are essential. They may look simple, yet getting either style right requires attention to plenty of details: there’s often only a fine line between relaxed and messy.
- Related reading – Advanced low bun tutorial: Japan’s No. 1 most-viewed video among women shows you how to keep it looking polished all day!
在 Instagram 查看這則貼文
This time, POPBEE is once again taking notes from popular Japanese hairstylist AYAMAR 美ヘアチャンネル on YouTube, sharing three low-ponytail mistakes to avoid and demonstrating every detail to keep in mind while styling your hair.
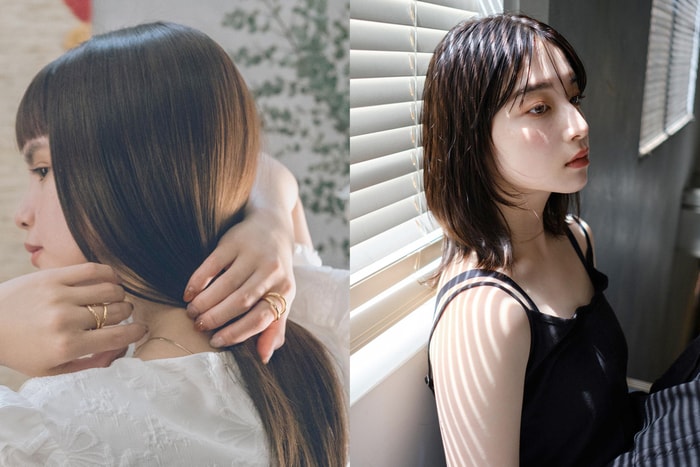
Think your low ponytail looks a little off? AYAMAR shares three possible reasons. First, look at the back of your head: if the hairline is too defined and lacks shape, a low ponytail can make your head shape look less flattering. Next is where you place the ponytail, which is key to balancing the entire hairstyle. Finally, the face-framing strands on either side are especially helpful for making the face appear smaller. Styled properly, they can flatter your face shape and prevent exposed scalp from looking awkward.
- Related reading – It’s that time of year again when long hair makes getting dressed a hassle: 3 pretty, easy-to-style “princess braids”
Low ponytail mistakes to avoid
- Use your ears as a guide to section off the front hair on each side (around 03:00 in the video).
- Tie the back section into a ponytail first, positioning it level with the area just below your ears at the back of your head (around 03:28 in the video).
- At the parting of the front sections, take about 1 cm of hair from either the left or right side to cover the part so the crown doesn’t fall flat (around 03:45 in the video).
- Leave out some face-framing pieces, then gather the hair on each side with your left and right hands (around 04:07 in the video).
- Bring the left and right sections to the back, then tie them in a knot above the ponytail (around 05:25 in the video).
- Bring the sections down around the ponytail, tie them underneath it, then loop the sections once upward toward your head (around 05:46 in the video).
- Hold the hair tie with one hand and adjust the shape at the back of your head with the other. Loosen 2-3 small sections at the center, then work outward toward each side in a fan shape (around 06:43 in the video).
- Hold the hair tie with one hand, then use all five fingers of the other hand to gently tug and adjust the hair at the crown (around 07:30 in the video).
- Use a mirror to adjust the shape from the front, again working slightly in a fan shape. Don’t pull out more than 1 cm of hair (around 08:10 in the video).
- Let the hair above your ears cover about one-third of each ear for a cute face-slimming effect (around 08:46 in the video).
Join Popbee Circle and subscribe to the Popbee newsletter for the latest updates, and get early access to exclusive perks and discounts! Beyond this article, here are a few recent stories worth checking out:
- Using hair oil incorrectly can actually lead to hair loss: Here is how to choose and use it properly, and it’s not always about the price!
- Still Hesitating on Which Color to Dye for the New Season? The Red Hair Korean Female Celebrities Are Switching to Might Be a Great Skin-Brightening Choice
- Hair Thinning After Autumn Arrives Is Actually Normal! 3 Haircare Tips to Help You Deal with "Seasonal Hair Loss"